How to Record Your Screen on an iPhone: Step-by-Step Guide
Introduction
In this comprehensive guide, we will walk you through the process of recording your screen on an iPhone. Whether you want to capture memorable moments, create tutorials, or troubleshoot issues, screen recording can be an invaluable tool. We will cover various iPhone models, including the latest iPhone 12 and XR, and explore how to screen record on iPhone with iOS 11 and above. Let’s dive in and discover the wonders of screen recording on an iPhone!
Understanding Screen Recording on iPhone
Before we delve into the how-to’s of screen recording, let’s understand the basics. Screen recording allows you to capture what’s happening on your iPhone’s display, along with audio (if enabled), so you can save and share it later. This feature has multiple applications, from recording gameplay to demonstrating app usage or creating educational content.
How to Screen Record on iPhone 8 and Earlier Models
If you are using an iPhone 8 or an earlier model, you can still enjoy screen recording with a different approach. Follow these steps:
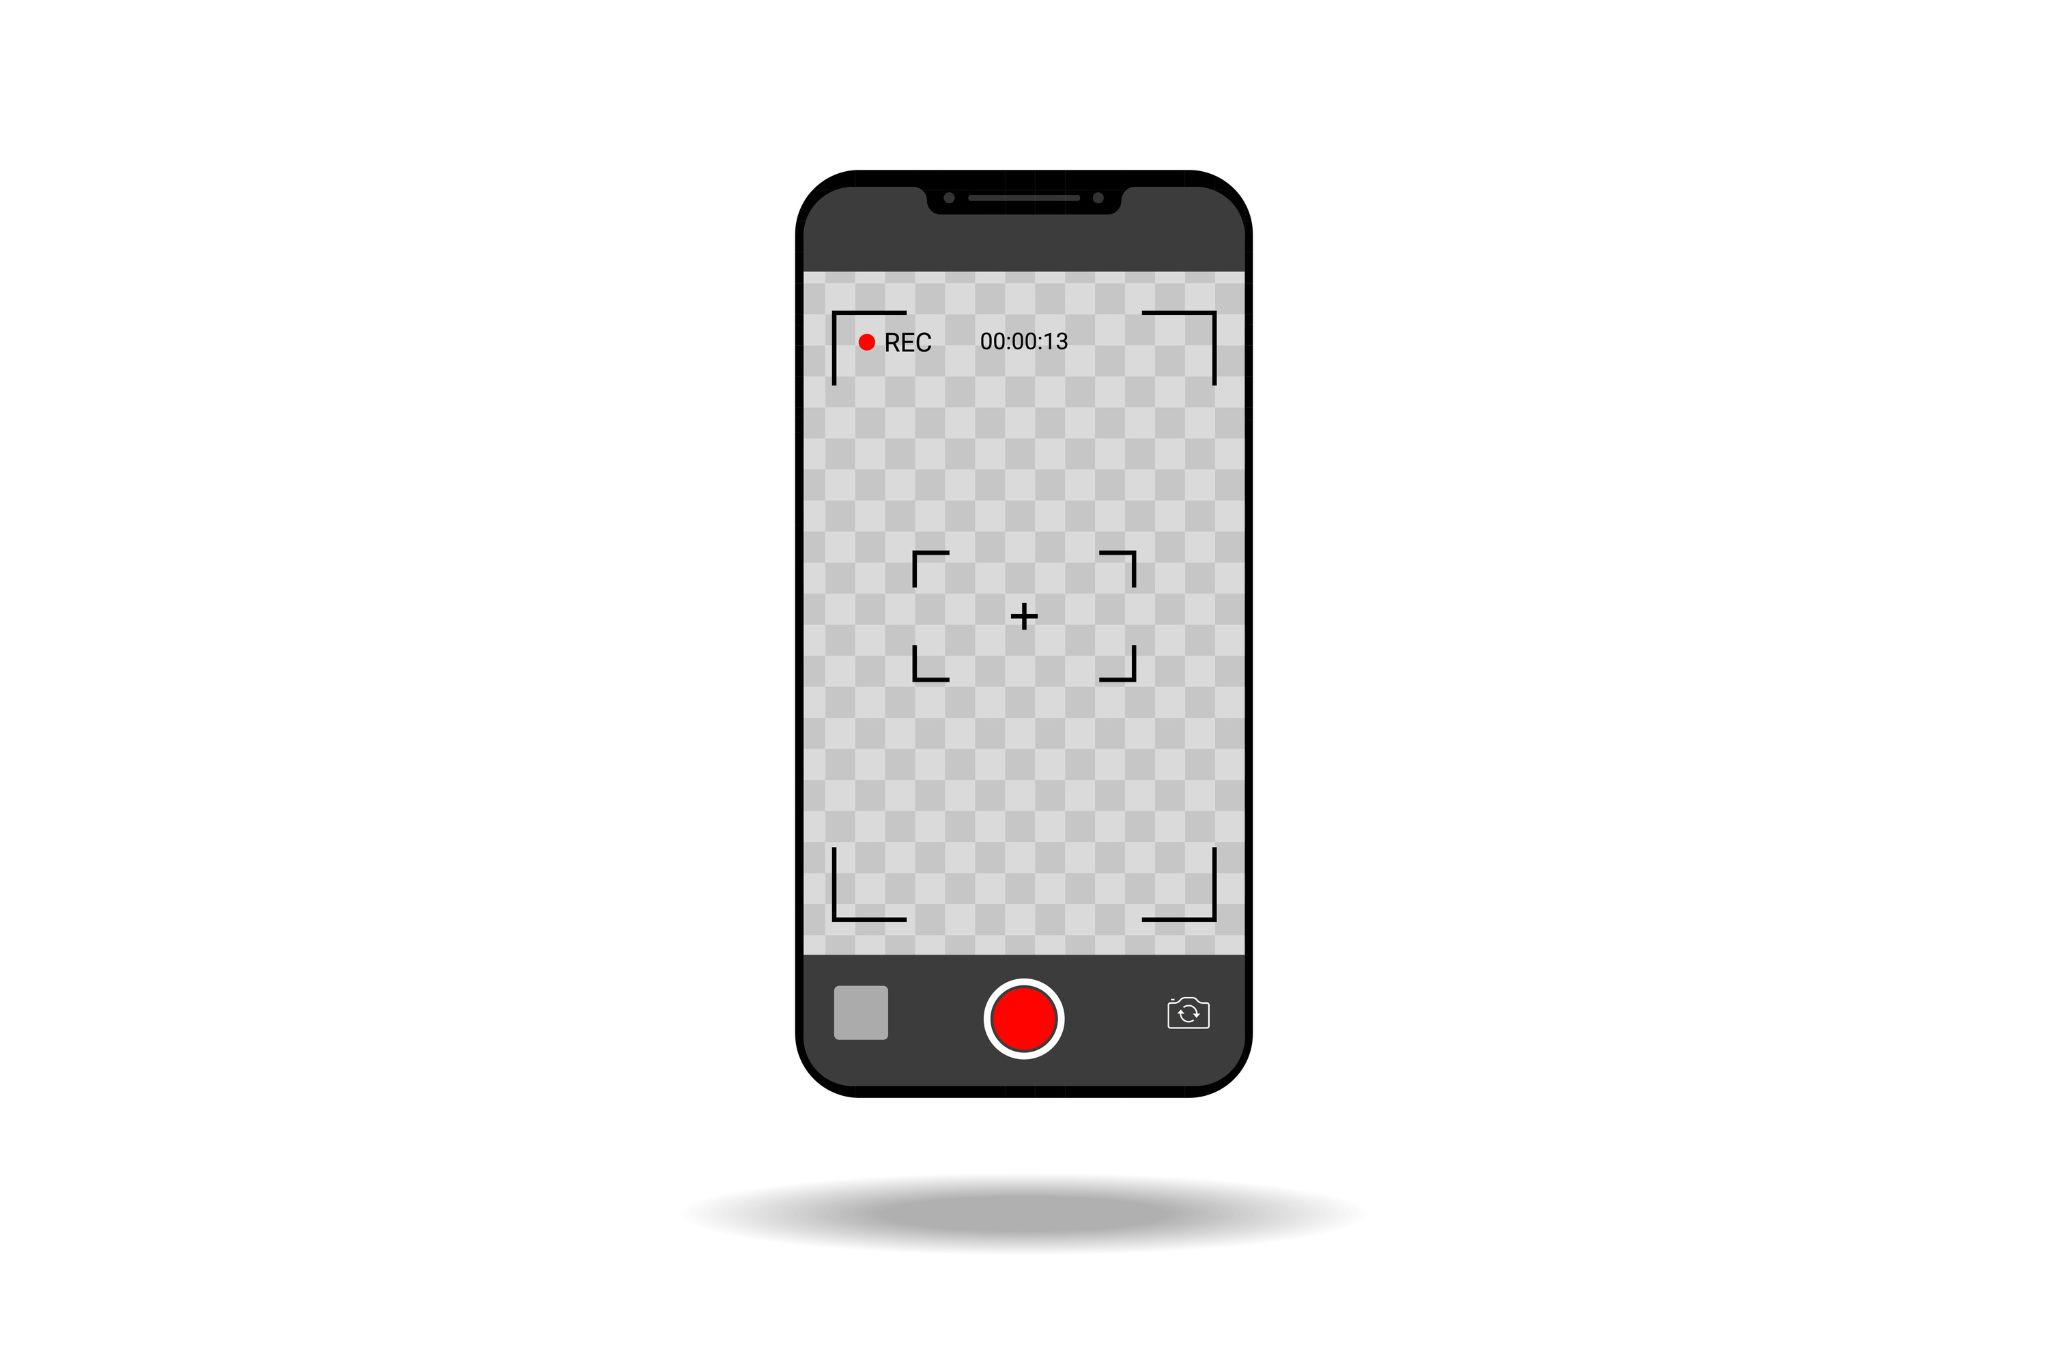
How to Screen Record on iPhone 12 and Later Models: Built-in Method
- Enable Screen Recording: Go to “Settings” and tap on “Control Center.”
- Customize Controls: Add “Screen Recording” to your Control Center.
- Start Recording: Access Control Center by swiping up from the bottom of the screen (or from the top-right corner for iPhone X and later). Tap the “Record” icon to begin recording.
- Stop Recording: To end the recording, tap the red status bar and confirm the action.
- Find Your Recording: The recording will be saved in the Photos app.
The iPhone 12 boasts a powerful screen recording feature that is easy to use. Here’s how you can do it:
- Open Settings: Go to the “Settings” app on your iPhone 12.
- Control Center: Tap on “Control Center.”
- Customize Controls: Scroll down and click on “Customize Controls.”
- Add Screen Recording: Locate “Screen Recording” and tap the green plus button to add it to your Control Center.
- Record Your Screen: Swipe down from the top-right corner of the screen to open Control Center. Tap the screen recording icon, and the recording will begin after a three-second countdown.
- Stop Recording: To stop the recording, tap the red status bar at the top and confirm the action.
- Access Recording: The recorded video will be saved in your Photos app.
How to Screen Record on iPhone XR: Simple Steps
For iPhone XR users, screen recording is equally convenient. Follow these steps:
- Open Control Center: Swipe down from the top-right corner of your iPhone XR to access Control Center.
- Screen Recording: Locate the circular “Record” icon within Control Center.
- Start Recording: Tap the “Record” icon to initiate the screen recording process.
- Stop Recording: To stop recording, tap the red status bar at the top and confirm.
- Access Recording: The recorded video will be available in your Photos app.
How Long Can You Screen Record on iPhone?
The duration of your screen recording session depends on various factors, such as the available storage on your iPhone and the resolution of the recording. By default, the maximum recording length is usually set to 10 minutes, but you can extend it.
To extend the recording time:
- Reduce Resolution: Lowering the recording resolution can increase the recording time.
- Free Up Space: Clear out unnecessary files and apps to free up storage.
How to Record Your Screen on an iPhone with iOS 11
For users with iOS 11 and above, here’s how you can screen record:
- Access Control Center: Swipe up from the bottom of the screen to open Control Center.
- Start Recording: Tap the “Record” icon to initiate screen recording.
- Recording Indicator: The status bar will turn red to indicate the recording is in progress.
- Stop Recording: To finish the recording, tap the red status bar and confirm.
- Locate Your Recording: Find the recorded video in your Photos app.
How to Record Your iPhone Screen with an App
Apart from built-in screen recording, several third-party apps offer additional features and flexibility for recording your iPhone screen. One such popular app is “Record it!” Here’s how to use it:
- Install and Launch the App: Download and install the “Record it!” app from the App Store. Launch the app on your iPhone.
- Customize Settings: Explore the app’s settings and adjust preferences like video quality, resolution, and audio sources.
- Start Recording: Tap the red button to start recording your screen.
- Enhance Your Recording: Utilize editing tools provided by the app to enhance your video.
- Save and Share: Save the recording to your camera roll or share it directly on social media platforms.
Apart from this, there are many apps that improve your productivity. Read Your Essential Guide to Seamless Efficiency (link blog 5 here) which will take you a deep dive on iPhone productivity apps.
Tips for Seamless Screen Recording
Recording your screen can be a breeze with these helpful tips:
- Clean Display: Ensure your iPhone screen is clean and free from smudges or debris.
- Silence Notifications: To avoid interruptions, enable “Do Not Disturb” mode before recording.
- Record in Landscape: Landscape orientation offers a better viewing experience for most content.
- Voiceover and Microphone: Decide whether you want to record with audio (voiceover) or without it.
- Edit Afterwards: Post-production editing can help refine your recorded content.
Comparison Table: Built-in vs. Third-party iPhone Screen Recording
Let’s compare the built-in screen recording feature with the third-party app “Record it!” in a quick table:
| Features | Built-in Screen Recording | “Record it!” App |
| Ease of Use | Very Easy | Easy |
| Audio Recording | Yes | Yes |
| Video Editing | Basic Editing | Extensive Editing Tools |
| Capture Limit | Device-Specific | Device-Specific |
| Additional Features | N/A | Annotations, Sharing |
Conclusion
Congratulations! You’ve learned how to record your screen on an iPhone, using both built-in and third-party methods. Now, unleash your creativity and use screen recording to its fullest potential. Whether you’re a gamer, content creator, or educator, screen recording on your iPhone is a powerful tool at your disposal.
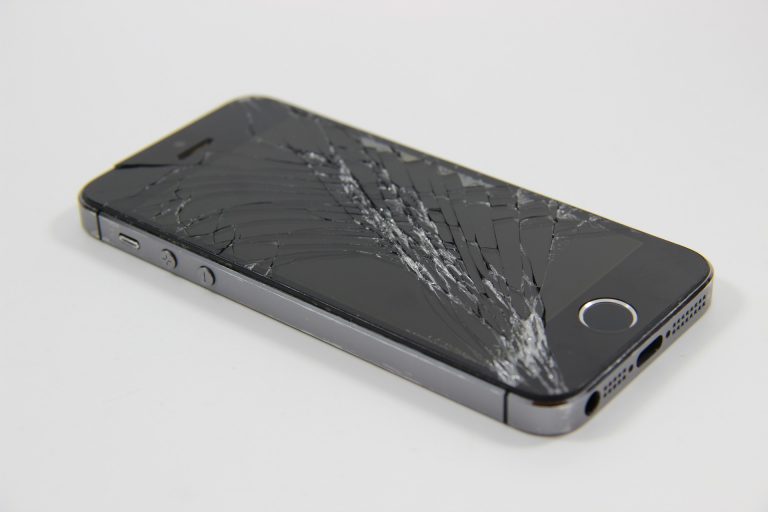
But wait, what if, during the screen recording process, you encounter any issues with your iPhone? Perhaps your screen becomes unresponsive or gets cracked accidentally? Don’t worry; there’s a solution for that too!
Introducing Direct Cell Phone Repair Service – your one-stop destination for all iPhone repair needs. If your iPhone ever faces any damage, whether it’s a broken screen, faulty microphone, or any other issue, the experts at Direct Cell Phone Repair Service have got you covered.
FAQs
- Can I record my iPhone screen without audio?
Yes, you can choose to record your screen without audio by turning off the microphone during recording. - Does screen recording affect iPhone performance?
Screen recording can use additional resources, so it’s advisable to close unnecessary apps to ensure smooth recording. - Are there any screen recording apps for iPhones that are free?
Yes, many screen recording apps are available for free on the App Store, offering basic recording features. - Can I edit my screen recording after capturing it?
Yes, you can edit your screen recording using various video editing apps available on the App Store. - How much space does a screen recording typically consume?
The size of a screen recording varies based on the resolution and duration of the recording, ranging from a few megabytes to several gigabytes.